
In today's article, I'm going to show you the process to reset MySQL/MariaDB root passwords…
Installing WordPress on CentOS couldn’t be easier. We just need to make sure that Apache, MySQL, and PHP are installed and operational, then upload the WordPress files to the Apache VirtualHost directory.
If you need help setting up Apache, MySQL, and PHP please read through the following articles first, as I will be assuming you already have these configured:
How to Install Apache, MySQL, and PHP on CentOS 6.7
How to Create a VirtualHost in Apache
Now, let’s jump right into installing WordPress!
1. Verify Apache, MySQL and PHP are ready
First we need to make sure that Apache, MySQL (or MariaDB in this case), and PHP are installed and running.
Check Apache status:
service httpd status
Should look something like:
httpd (pid 31884) is running...
Check MySQL/MariaDB status:
service mariadb status
or
service mysqld status
Should output something like:
SUCCESS! MySQL running (31985)
Make sure PHP is installed:
php -v
Should output something like:
PHP 5.6.14 (cli) (built: Sep 30 2015 14:07:43)
Copyright (c) 1997-2015 The PHP Group
Zend Engine v2.6.0, Copyright (c) 1998-2015 Zend Technologies
Everything looks good! Now we can download WordPress, and get it installed!
2. Download, extract, and prepare WordPress
First things first, let’s move into your home directory:
cd ~
Now let’s pull the WordPress files, extract them, and copy them to our VirtualHost
wget https://wordpress.org/latest.tar.gz
tar xzvf latest.tar.gz
cp -av wordpress/* /var/www/virtual/yourdomain.com/public_html
Set the directory/file permissions and prepare configuration
cd /var/www/virtual/yourdomain.com/public_html
chown -R apache:apache ../public_html
mv wp-config-sample.php wp-config.php
Let’s create the WordPress database and user. Make sure to take note of what settings you use, as you’ll need it for the next step. Don’t just copy/paste the below commands, change them to something unique to keep your WordPress database secure.
mysql -u root -p
create database wordpress;
grant all on wordpress.* to 'wpuser'@'localhost' identified by 'somepass!';
quit
Now we need to modify the wp-config.php file to include your database settings.
nano wp-config.php
Find the below block, and input your database name, user, and password.
// ** MySQL settings ** //

/** The name of the database for WordPress */
define('DB_NAME', 'wordpress');

/** MySQL database username */
define('DB_USER', 'wpuser');

/** MySQL database password */
define('DB_PASSWORD', 'somepass!');

/** MySQL hostname */
define('DB_HOST', 'localhost');
You also want to set the Unique Keys and Salts. This will help keep your WordPress installation a little more secure.
Go to https://api.wordpress.org/secret-key/1.1/salt/
Copy the entire output from that screen. It should look something like:
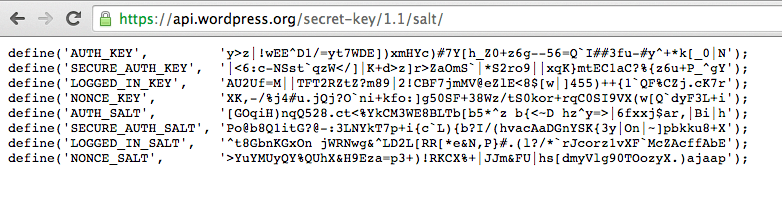
Now, in your wp-config.php file, find the section that looks like:
// ** Authentication Unique Keys and Salts. ** //
Delete the empty keys and salts, and simply paste yours right in
You’re now ready to run the WordPress Installer!
3. Run WordPress Installer
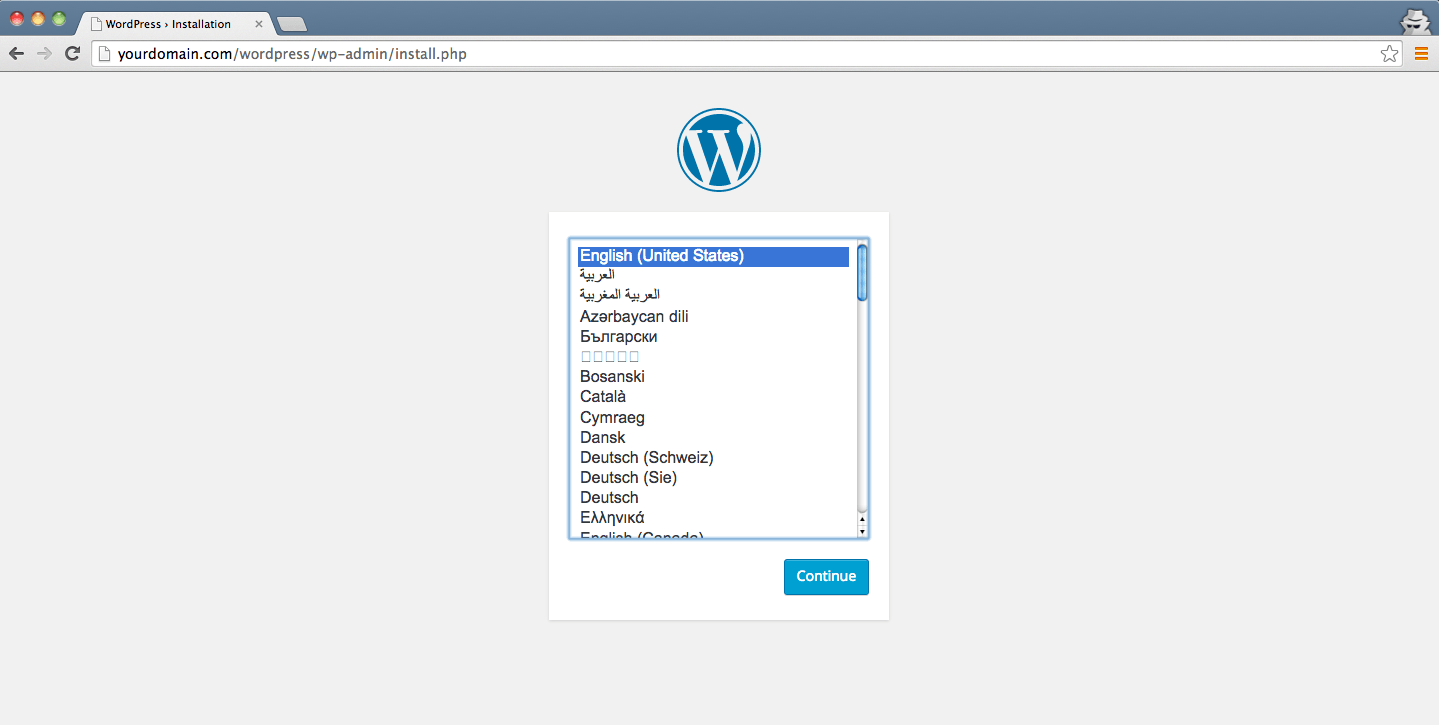
All you need to do at this point, is select your Language and create your WordPress Admin account. It’s that simple.
Select your Language:
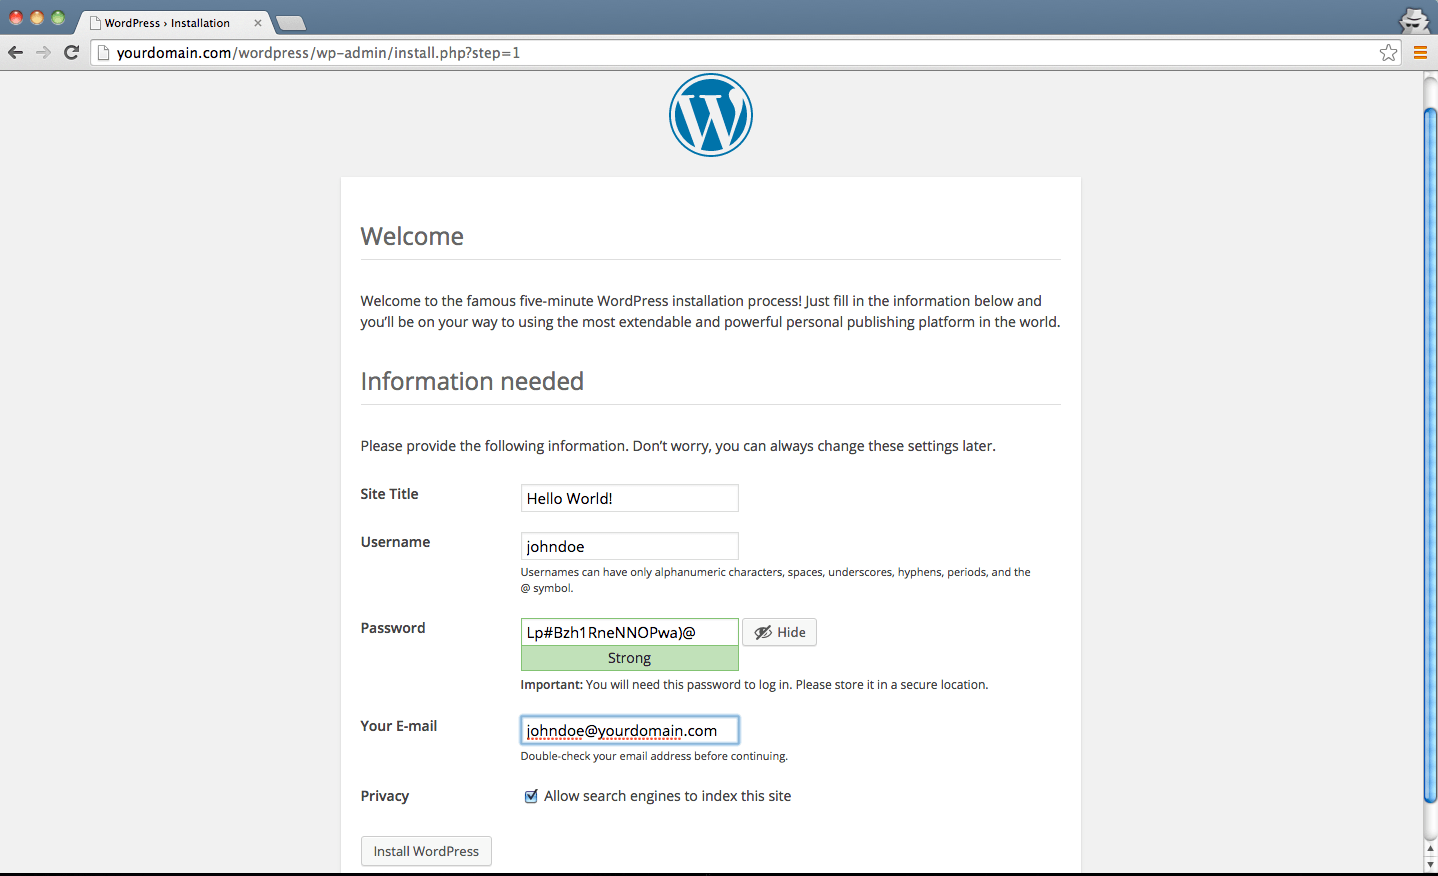
Select Site Title, and WordPress Admin user (I recommend using something that will be hard for malicious bots/users to guess.)
Success! (I told you it was easy ^_^)
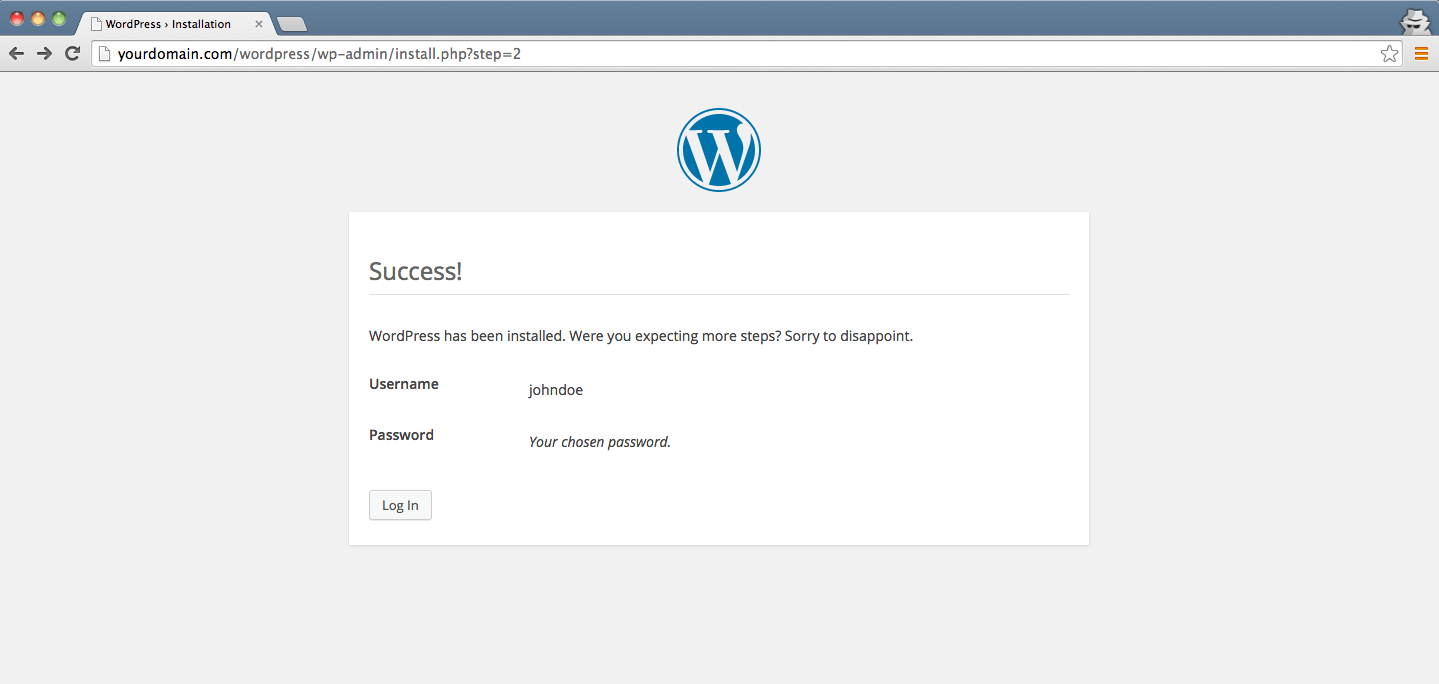
Log in and verify
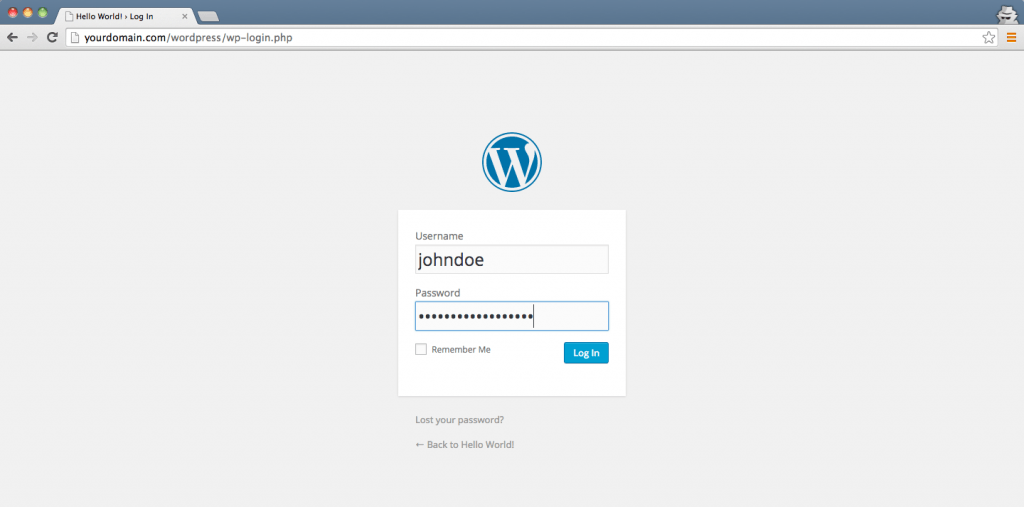
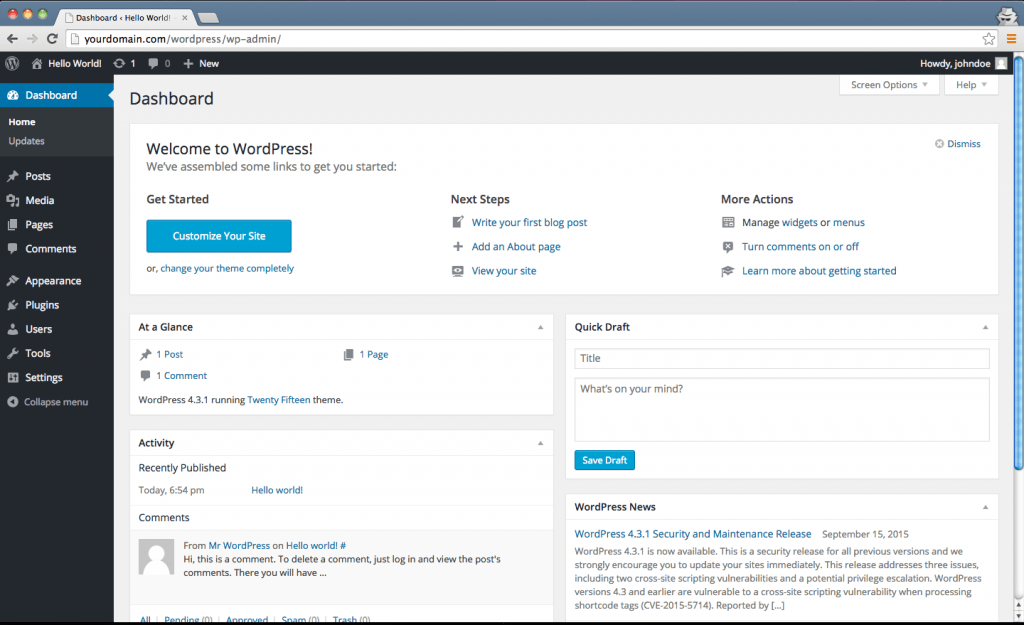
Awesome!
I hope this article was able to help you install WordPress without too much trouble. The key to making sure everything goes smoothly is double-checking your configuration files, and your file/directory permissions. That’s usually the cause of most errors, if any. Thanks for reading, and please feel free to leave a comment with any questions, comments, or love you may have 😉
Sponsored Links
Comments (0)